I could do it to save money--Korea is the land of morning calm, but it’s also the land of charging 3x the import price for baby items! I could do it so I won’t have to make midnight runs to the convenience stores--the Hubs likes that ones! I could do it for the environment--I wanna do my part and I’m starting to do what I can. But that’s not why I cloth diaper. I do it because of all the cute prints!
I can’t even remember the first time I talked about cloth diapering, but I think it has always been a thought in the back of my mind…you know, for that “some day” when I got pregnant. And then I did get pregnant and I had to really consider what kind of diapering system we would have. Like I said, there were several good reasons to choose cloth over disposable, but I had no idea what I was getting myself into when I chose cloth.
The Hubs and I became pregnant in Fall 2010 and started working at ICS Pyeongtaek, South Korea the same year. We’ve been here for some time before, so the move wasn’t a huge adjustment. Soon we started befriending the other families in the faculty with small children and we found a lot of cloth diapering mommas as well. They showed me their diapers and all the new gadgets and gizmos of CDs today.
It’s not a “cloth and rubber shorts” world anymore! Now there are a variety of choices, including easy-to-wash pocket diapers and “old fashion” cloth with cute covers. For the sake of time, I’m only sticking to my favorites (and you can visit my blog sokoincloth.tumblr.com to learn about more).
What’s a Pocket Diaper? Take a look!
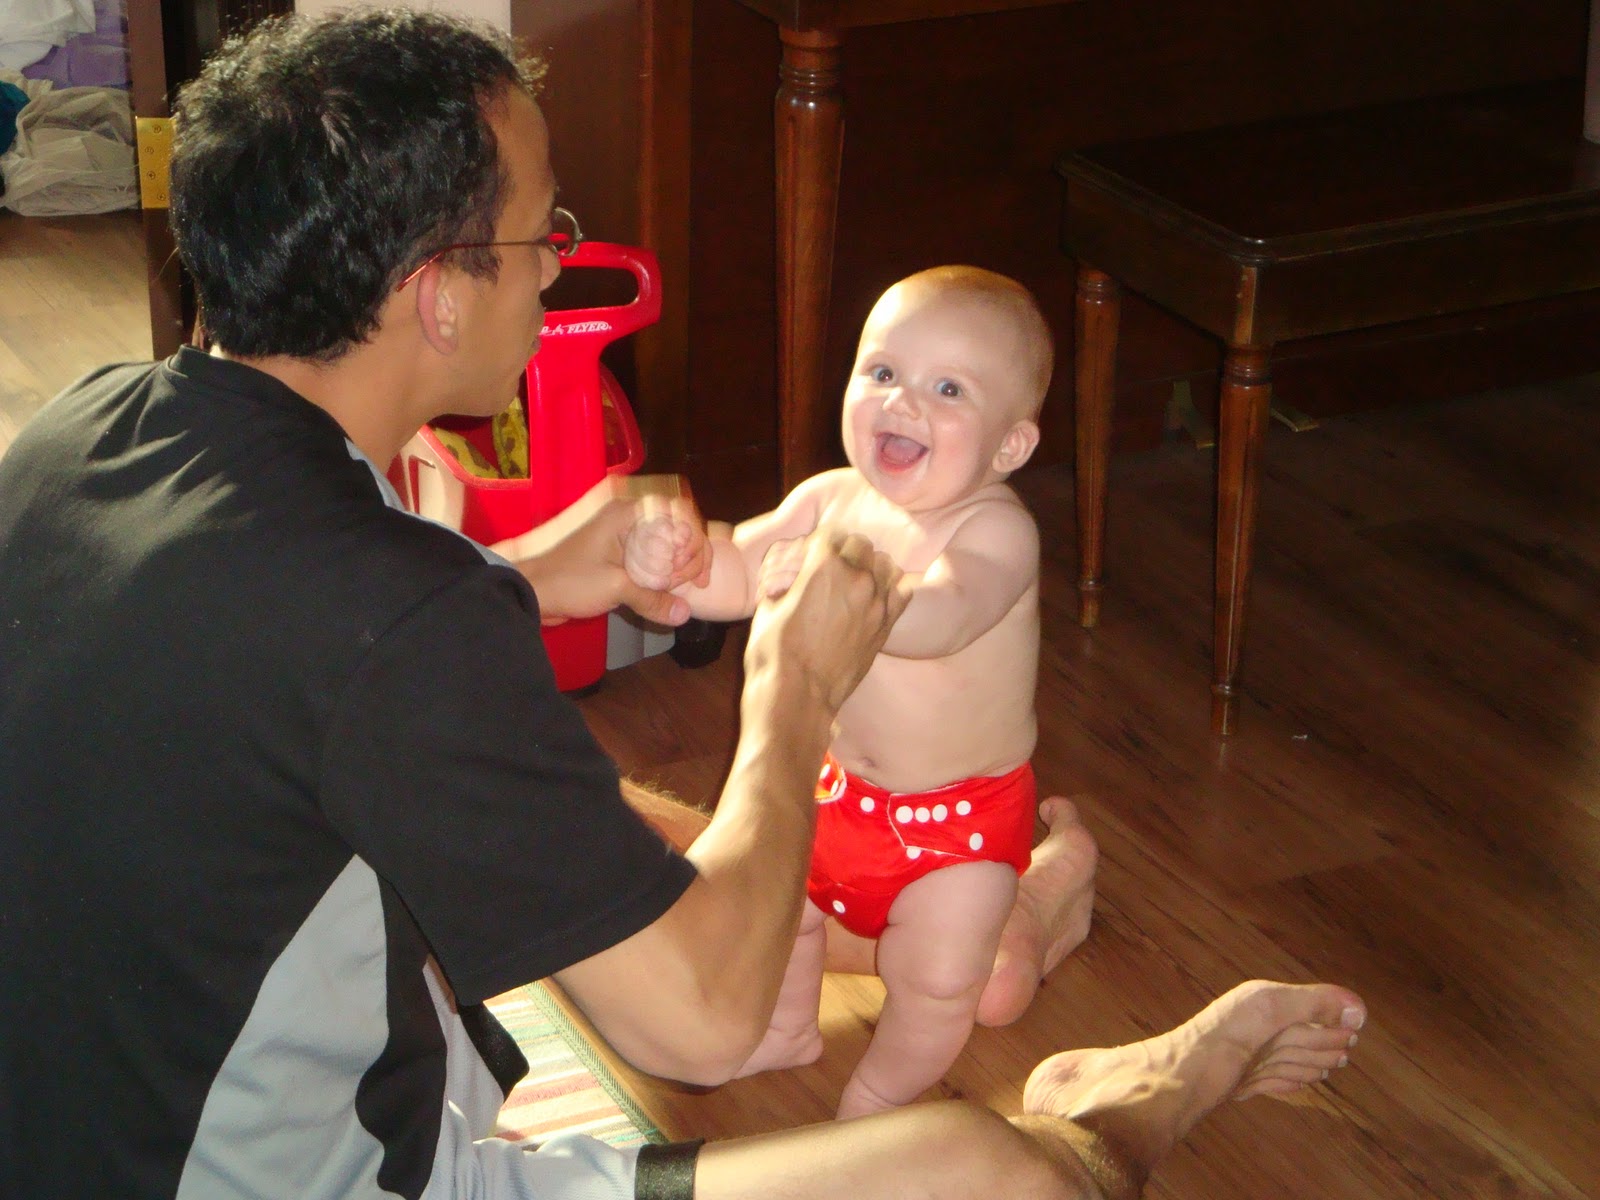
Pocket diapers are exactly what they sound like. There is a pocket opening between one layer of microfleece (wicks the moisture off of baby’s heiny!) and PUL (waterproof material with a pretty print or color on the front). In the pocket you insert an absorbent, washable pad. There is even room for more than one if you have a super-soaker child. ;) These are the easiest diapers to use because they are assembled just like a disposable. They are soft on baby’s rump, adjustable around the waist and fun to look at. MY favorite is HipKiddo from Canada.
My Other Go-To: The “old-fashion” cloth and cover. Take a looksies here…
The biggest improvement for these cloths is that we don’t have to use diaper pins anymore. There is a stretchy blue thing in my pictures that is called a Snappi and it holds the cloth part in place really well. (The cloth is thick enough that the grippers on the back of the Snappis never touch baby’s skin.) So, just like when I was in cloth as a kid, fold that cloth part around baby’s bum and attach the Snappi.
The waterproof layer is the next big improvement. Instead of those ugly, giant plastic panties, now there are tons and tons of cute, fashionable, leak-proof covers. The cover goes over the cloth just like a disposable diaper. They are adjustable around the waist as well. The cool part is that you can reuse the covers without washing them every single time, (as long as they aren’t soiled) so you get a lot of mileage out of them! MY favorite Cover is Thirsties Duo Wrap.
Now that I’m head-over-heels in LOOOOOVE with fluff, (that’s the new lingo for cloth these days) I’m so glad that I made this choice. My initial reasons weren’t great, but now I enjoy diaper rash-less baby booty, a good choice for the environment, sleeping in the bed instead of running out the get diapers and I thoroughly enjoy hanging my diapers to dry! I absolutely love all the colors!
And, seriously, who can resist an adorable baby with a fluffy butt!?
Gail Lantz is a good friend and blogging buddy to me and a wonderful mommy and wife. She is a stay at home mom currently living in South Korea. If you want to read more about cloth diapering and other fun mom type things check out her blog: Soko in Cloth.


